D-Link DCS-56 Water Protects Outdoor Enclosure
Introduction
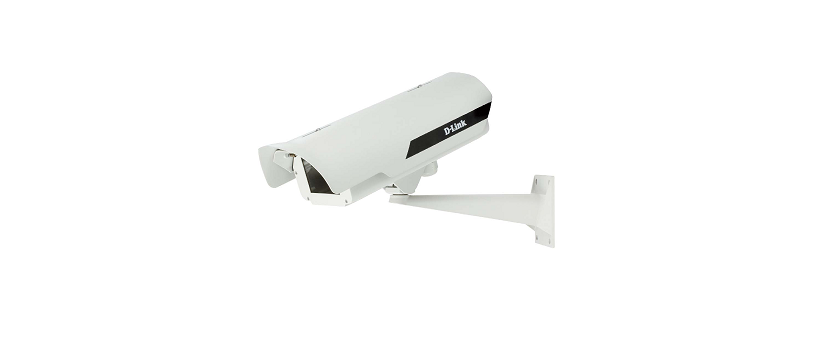
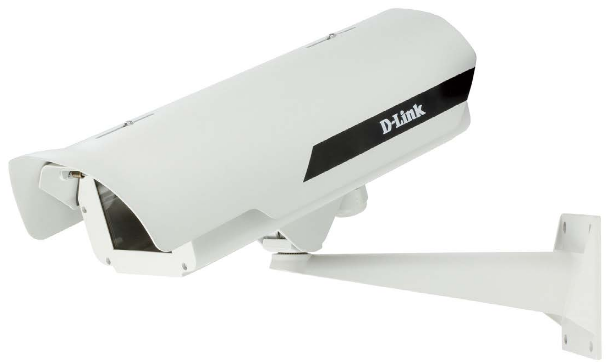
This installation guide provides basic instructions for installing the DCS-56 Series Outdoor Enclosure. The DCS-56 series are outdoor enclosures designed for use with D-Link’s box cameras. This IP66-certified enclosure protects your camera against dust and heavy jets of water. These models include a heater and a blower for a wider range of temperature-sensitive environments. The DCS-56 series consists of the DCS-56, the DCS-56P, and the DCS-56W.
Package Contents
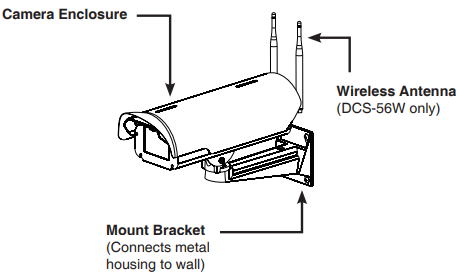
- Camera Enclosure
- Mount Bracket
- Wireless Antenna & holder (DCS-56W only)
- Assembly Kit (Anchors, Screws, Allen key)
- Quick Installation Guide
If any of the above items are missing, please contact your reseller.
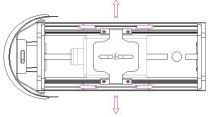
Hardware Overview
Physical Installation
- STEP 1: Open the camera enclosure and slide the camera into the holder. Tighten the camera in the holder.
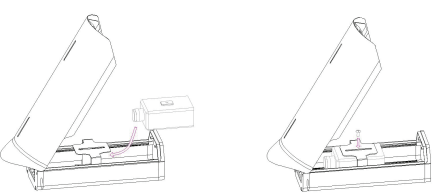
- STEP 2: Adjust the holder by loosing the retaining screws and tightening the screws to lock the desired position.
- STEP 3: For the DCS-56 and DCS-56P models, Connect the Ethernet cable to the LAN port of the camera.
Note: Do not use the 12 V DC to power the camera via PoE.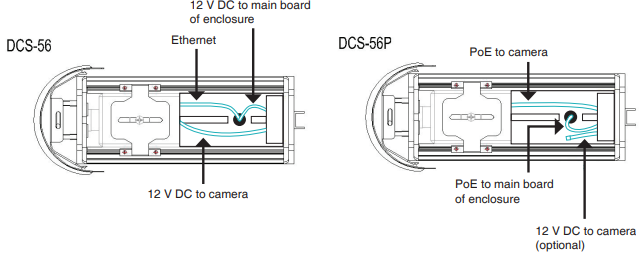
For the DCS-56W model, connect the wireless antenna extender to the camera.
- STEP 4: Mount the mount bracket to the location where you want to set up your camera. To prevent damage to the Ethernet cable, pre-install the cable to the location.
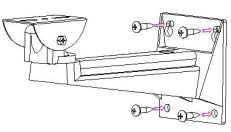
- STEP 5: Install the camera enclosure onto the mount bracket and secure the joint with the screws provided.
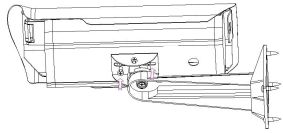
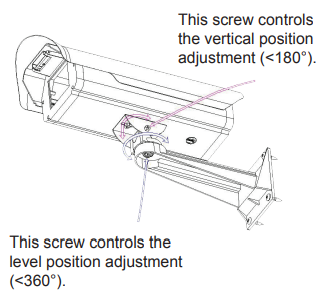
- STEP 6: Adjust the screws accordingly below the camera enclosure to control the camera position.
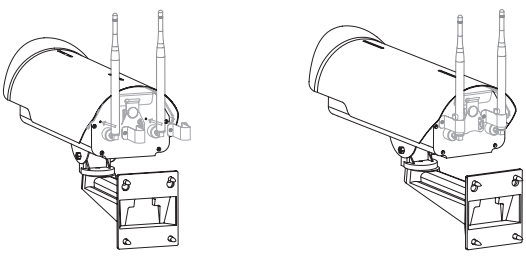
- STEP 7: To install the wireless antennas (DCS-56W only), connect the wireless antennas to the camera enclosure, then attach the antenna holders to the enclosure, and tighten them in place.
TECHNICAL SUPPORT
You can find software updates and user documentation on the D-Link website.
Tech Support for customers in
Australia:
Tel: 1300-766-868
24/7 Technical Support
Web: http://www.dlink.com.au
E-mail: support@dlink.com.au
India:
Tel: +91-22-27626600
Toll-Free 1800-22-8998
Web: www.dlink.co.in
E-Mail: helpdesk@dlink.co.in
Download PDF